Foam-Cutting, Hot-Wire CNC Machine
Senior Project - Summer 2022
For this project, I chose to be in a group with my great friends Chris Walker and Warren Andrews. Seeing how we already took the majority of classes together and were quite familiar with how to best work together, it was very natural for us to work together on this.
We ran the machine with a Raspberry Pi 4 & a Protoneer Board, which to my knowledge was a first-of-a-kind for a CNC machine of this type.
Since we took the capstone course over the summer semester, we had a strict deadline of 7 weeks. Deciding what we were going to make took the first week, planning & research took the second week, which left 5 weeks to construct and program the project.
Wish we had a little more time to at least write up a true academic paper on it, but overall I am very satisfied with how it came out!
Introduction
For this ECET Capstone project, a 4-Axis CNC Foam Cutting Machine was constructed. The machine was used to cut several various practical shapes from foam material. The goal was to create a cheap and intuitive foam cutting platform for hobbyists to utilize in home applications.
The primary application of the foam-cutting CNC machine was cutting airfoils for small to medium sized model planes. Although the primary application was cutting airfoils, a potential secondary use of the machine could be for cutting foam shapes used in leatherworking.
The system utilized a Raspberry Pi 4 with a Protoneer CNC Hat running DRV8825 Stepper Drivers.
The following image is a block diagram for the complete system.
Though there are numerous industrial grade foam cutting options, none really exist in the consumer market with the scale and capability needed by hobbyists. For the hobbyist plane builder and leatherworker, this machine will represent an advancement in the technology regarding cost, scale, and quality.
The above figure is a 3-D model of what the prototype looked like.
Project Goals
The machine should be able to make the desired cuts in a timely manner, no longer than a half hour.
The preset cutting settings will be displayed and selected via a touch screen display.
The system proposed will not have a rotary build plate, though this could be implemented into the design later.
Once the desired shape is selected, the machine should start cutting immediately after the wire heats up.
The wire shouldn’t take long to heat up, as the power that will be supplied to it should be sufficient to heat such a thin wire.
The surfaces of the cut foam should be smooth and continuous, providing a quality cut that is competitive with similar existing machines on the industrial scale.
Design
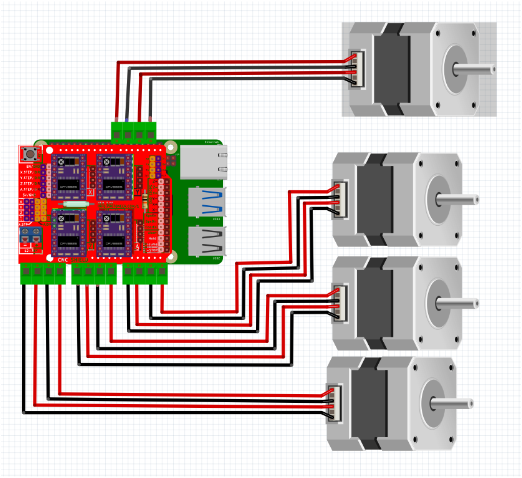
The following figure is a Fritzing model of what the actual final circuit looks like with the protoneer board implemented. The protoneer board sits on top of the Raspberry Pi and the connections are wired out from the borad. The individual drivers sit on top of the protoneer board with internal wiring connecting the proper circuitry to the outputs. The output connections are then connected directly to the stepper motors.
The next image is a traditional circuit schematic for the circuit we used. The only difference between this circuit and the final circuit implemented is that this schematic is the circuit without the protoneer board. The protoneer board just makes everything conveniently mounted on the board. and removes the need for external capacitors. Overall, this schematic is just communicating what is happening through the protoneer board. For axis A, the polarity of the wires had to be changed in order to mirror the Z axis.
Bill of Materials
The parts list above is a total, comprehensive list of required materials with per unit cost, though there are many variations in the final cost of the foam cutter as seen in the price total above. Most of the structural components and housing either came from a salvaged 3D printer or were 3D designed and printed parts. This led to the greatest area of cost savings in the project; all the wiring and 2 two stepper motors were also salvaged from an existing 3D printer. Overall, the greatest expenditure on this project was from the purchase of the Protoneer V2.60 Board and the Raspberry Pi 4.
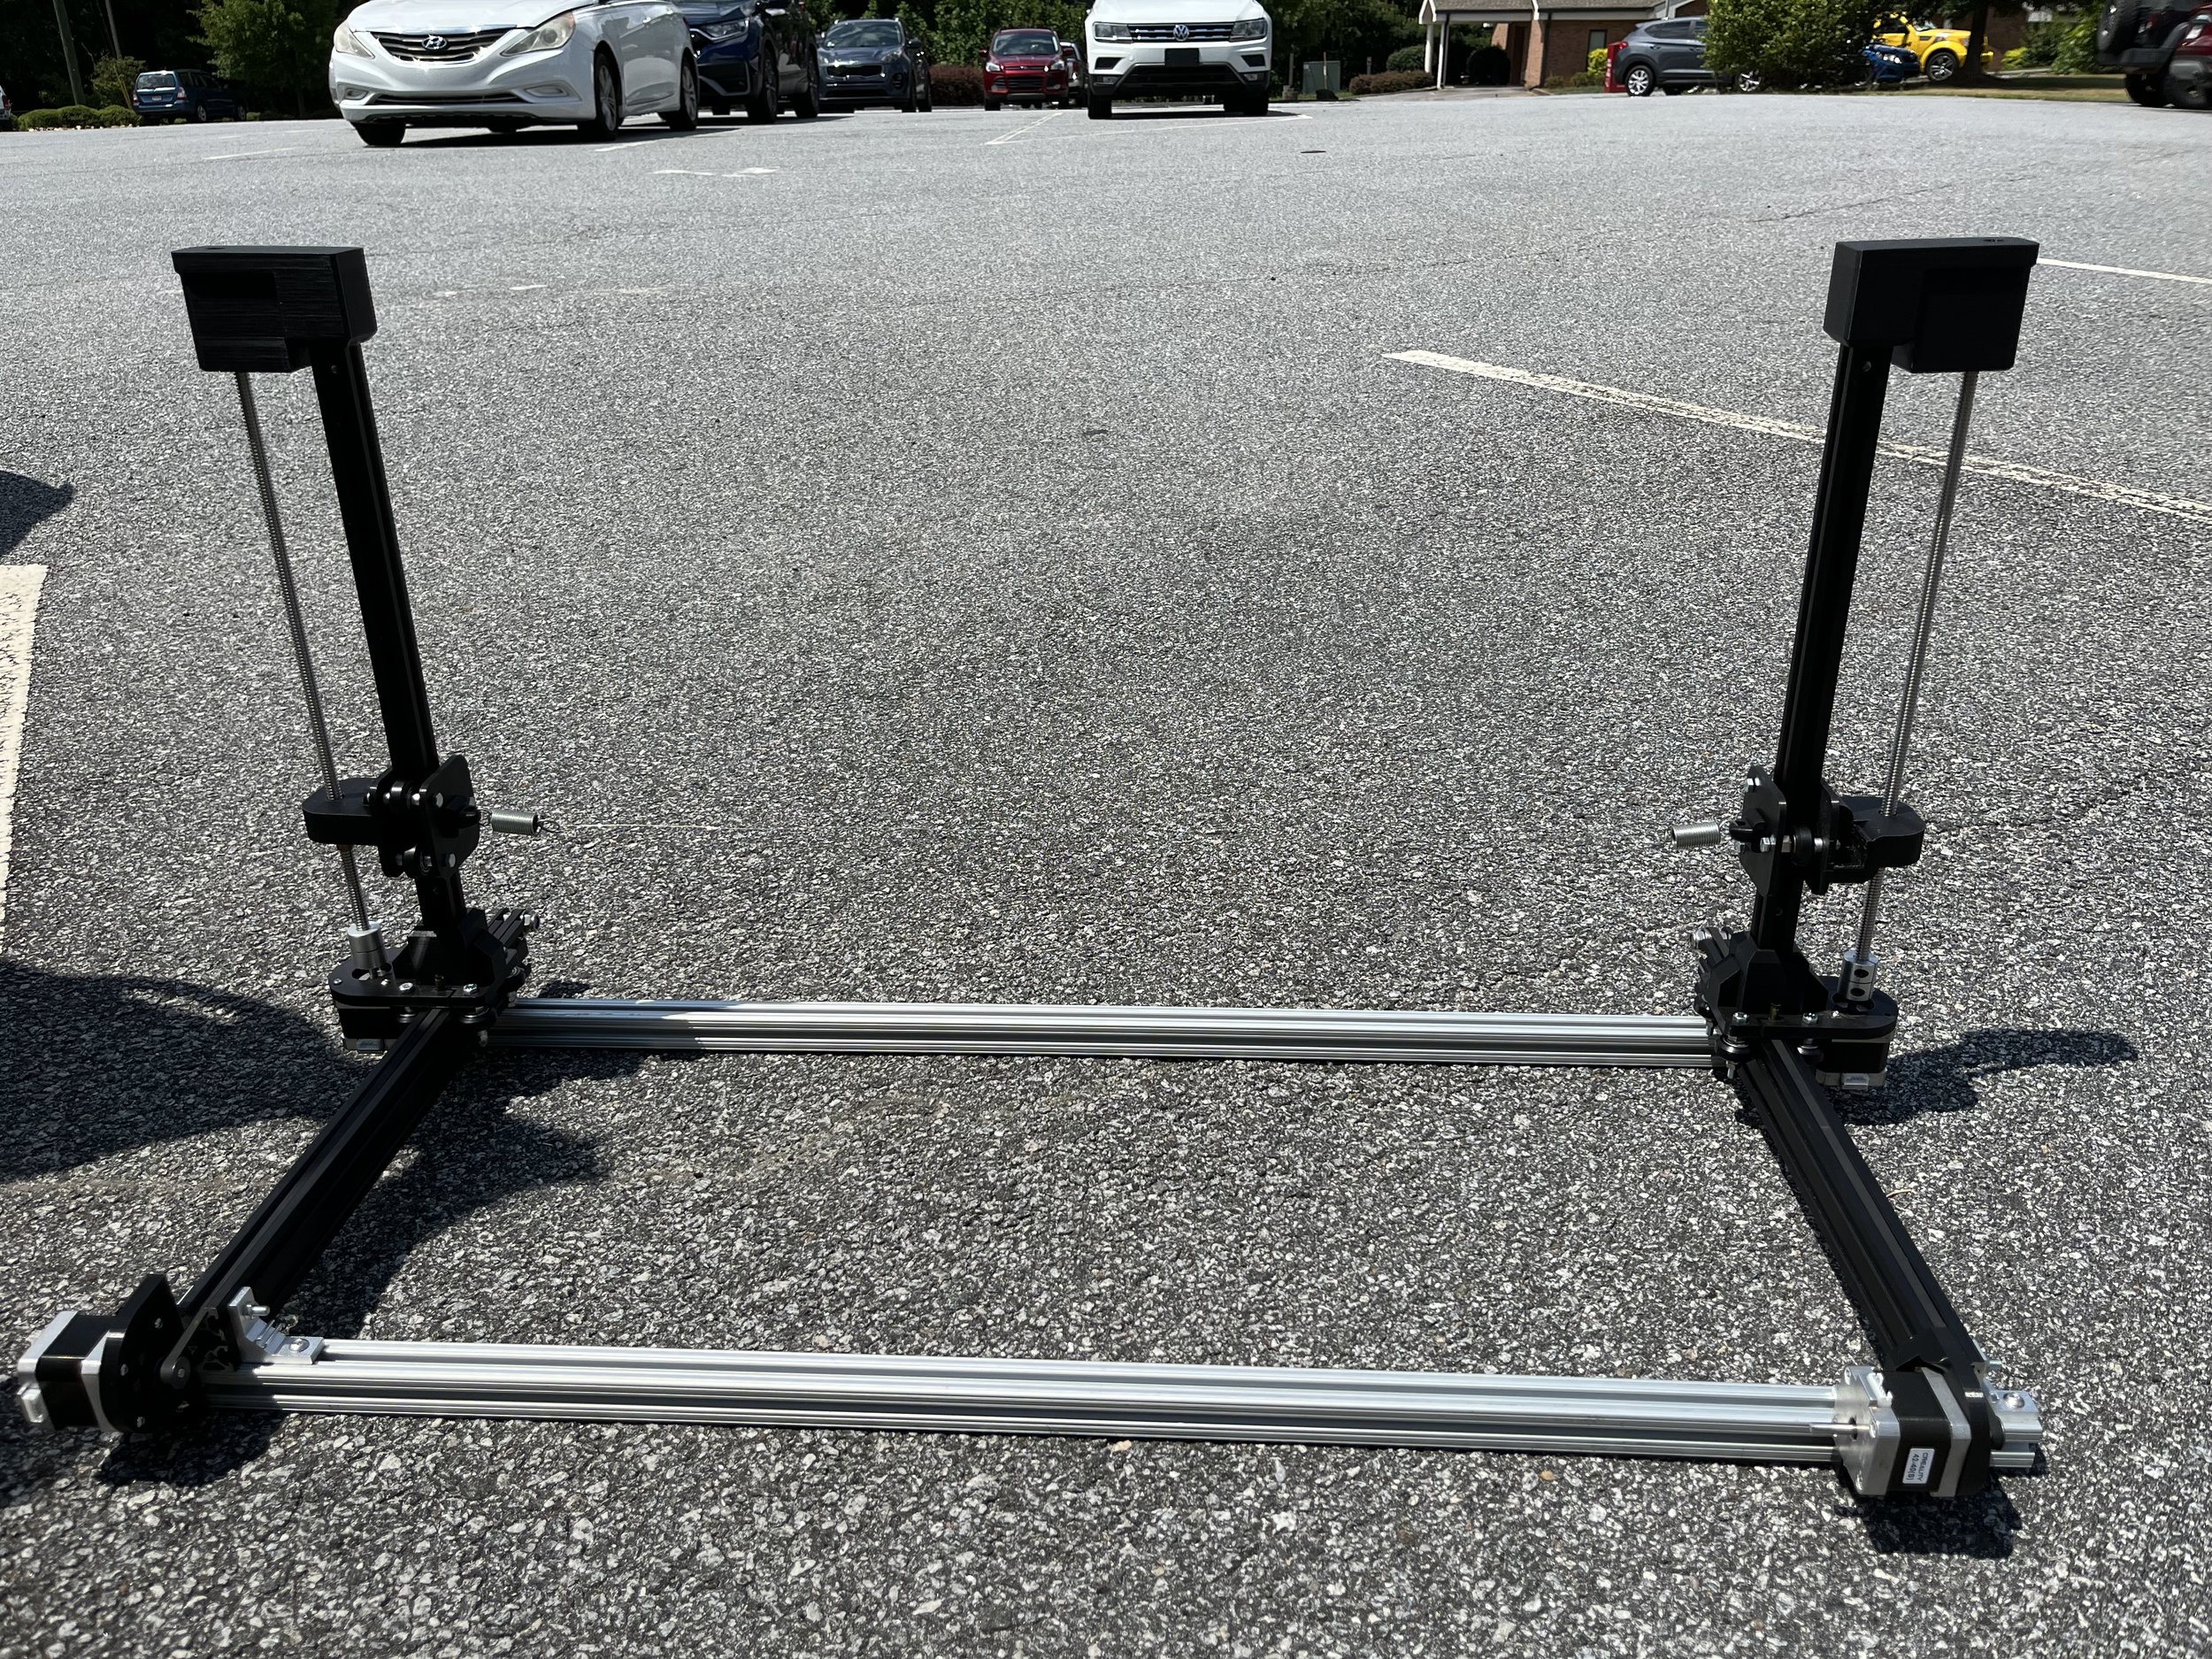
Gantry

Final Product
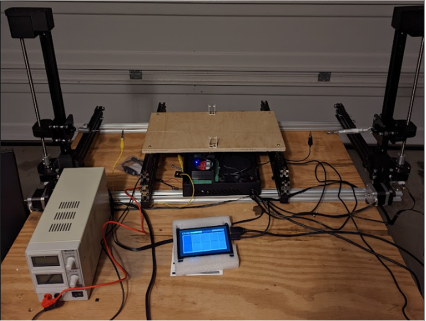
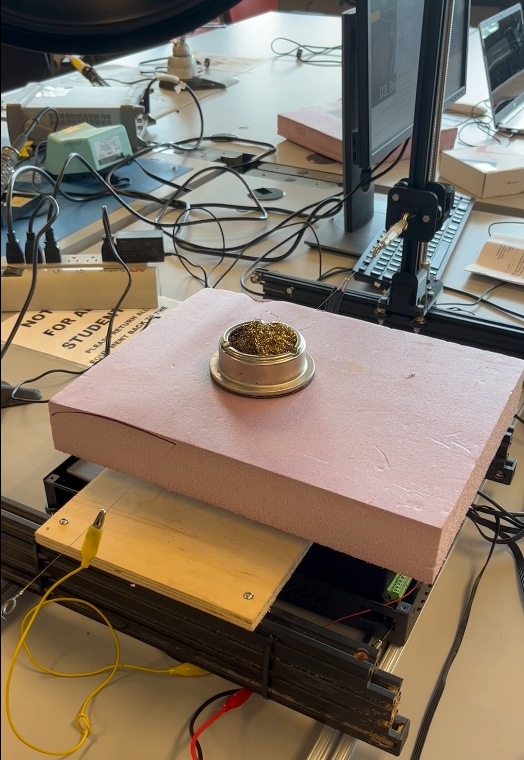
Testing Setup
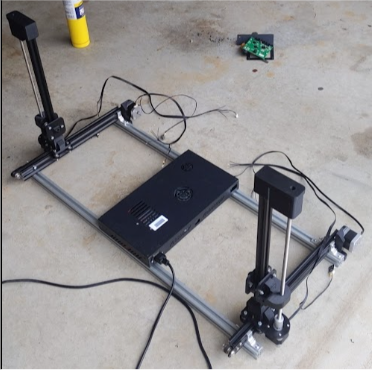
Foam-Cutting CNC Machine - Final Product
Foam-Cutting CNC Machine Airfoil Cut - Part 1
Final Product Demonstration
Outcome
The outcome of this project was a functional CNC machine and an A+ in my Senior Design class. Since the class was taken over the 8 week summer semester, the project came nowhere close to fully exploring the idea.
If you would like to make a suggestion on how to improve this project or ideas for future projects, please feel free to reach out via the button below.


